Introducing 22oz Copper Insulated Water Bottles! Cold for 48 hours & Hot for 12. In the SHOP Now

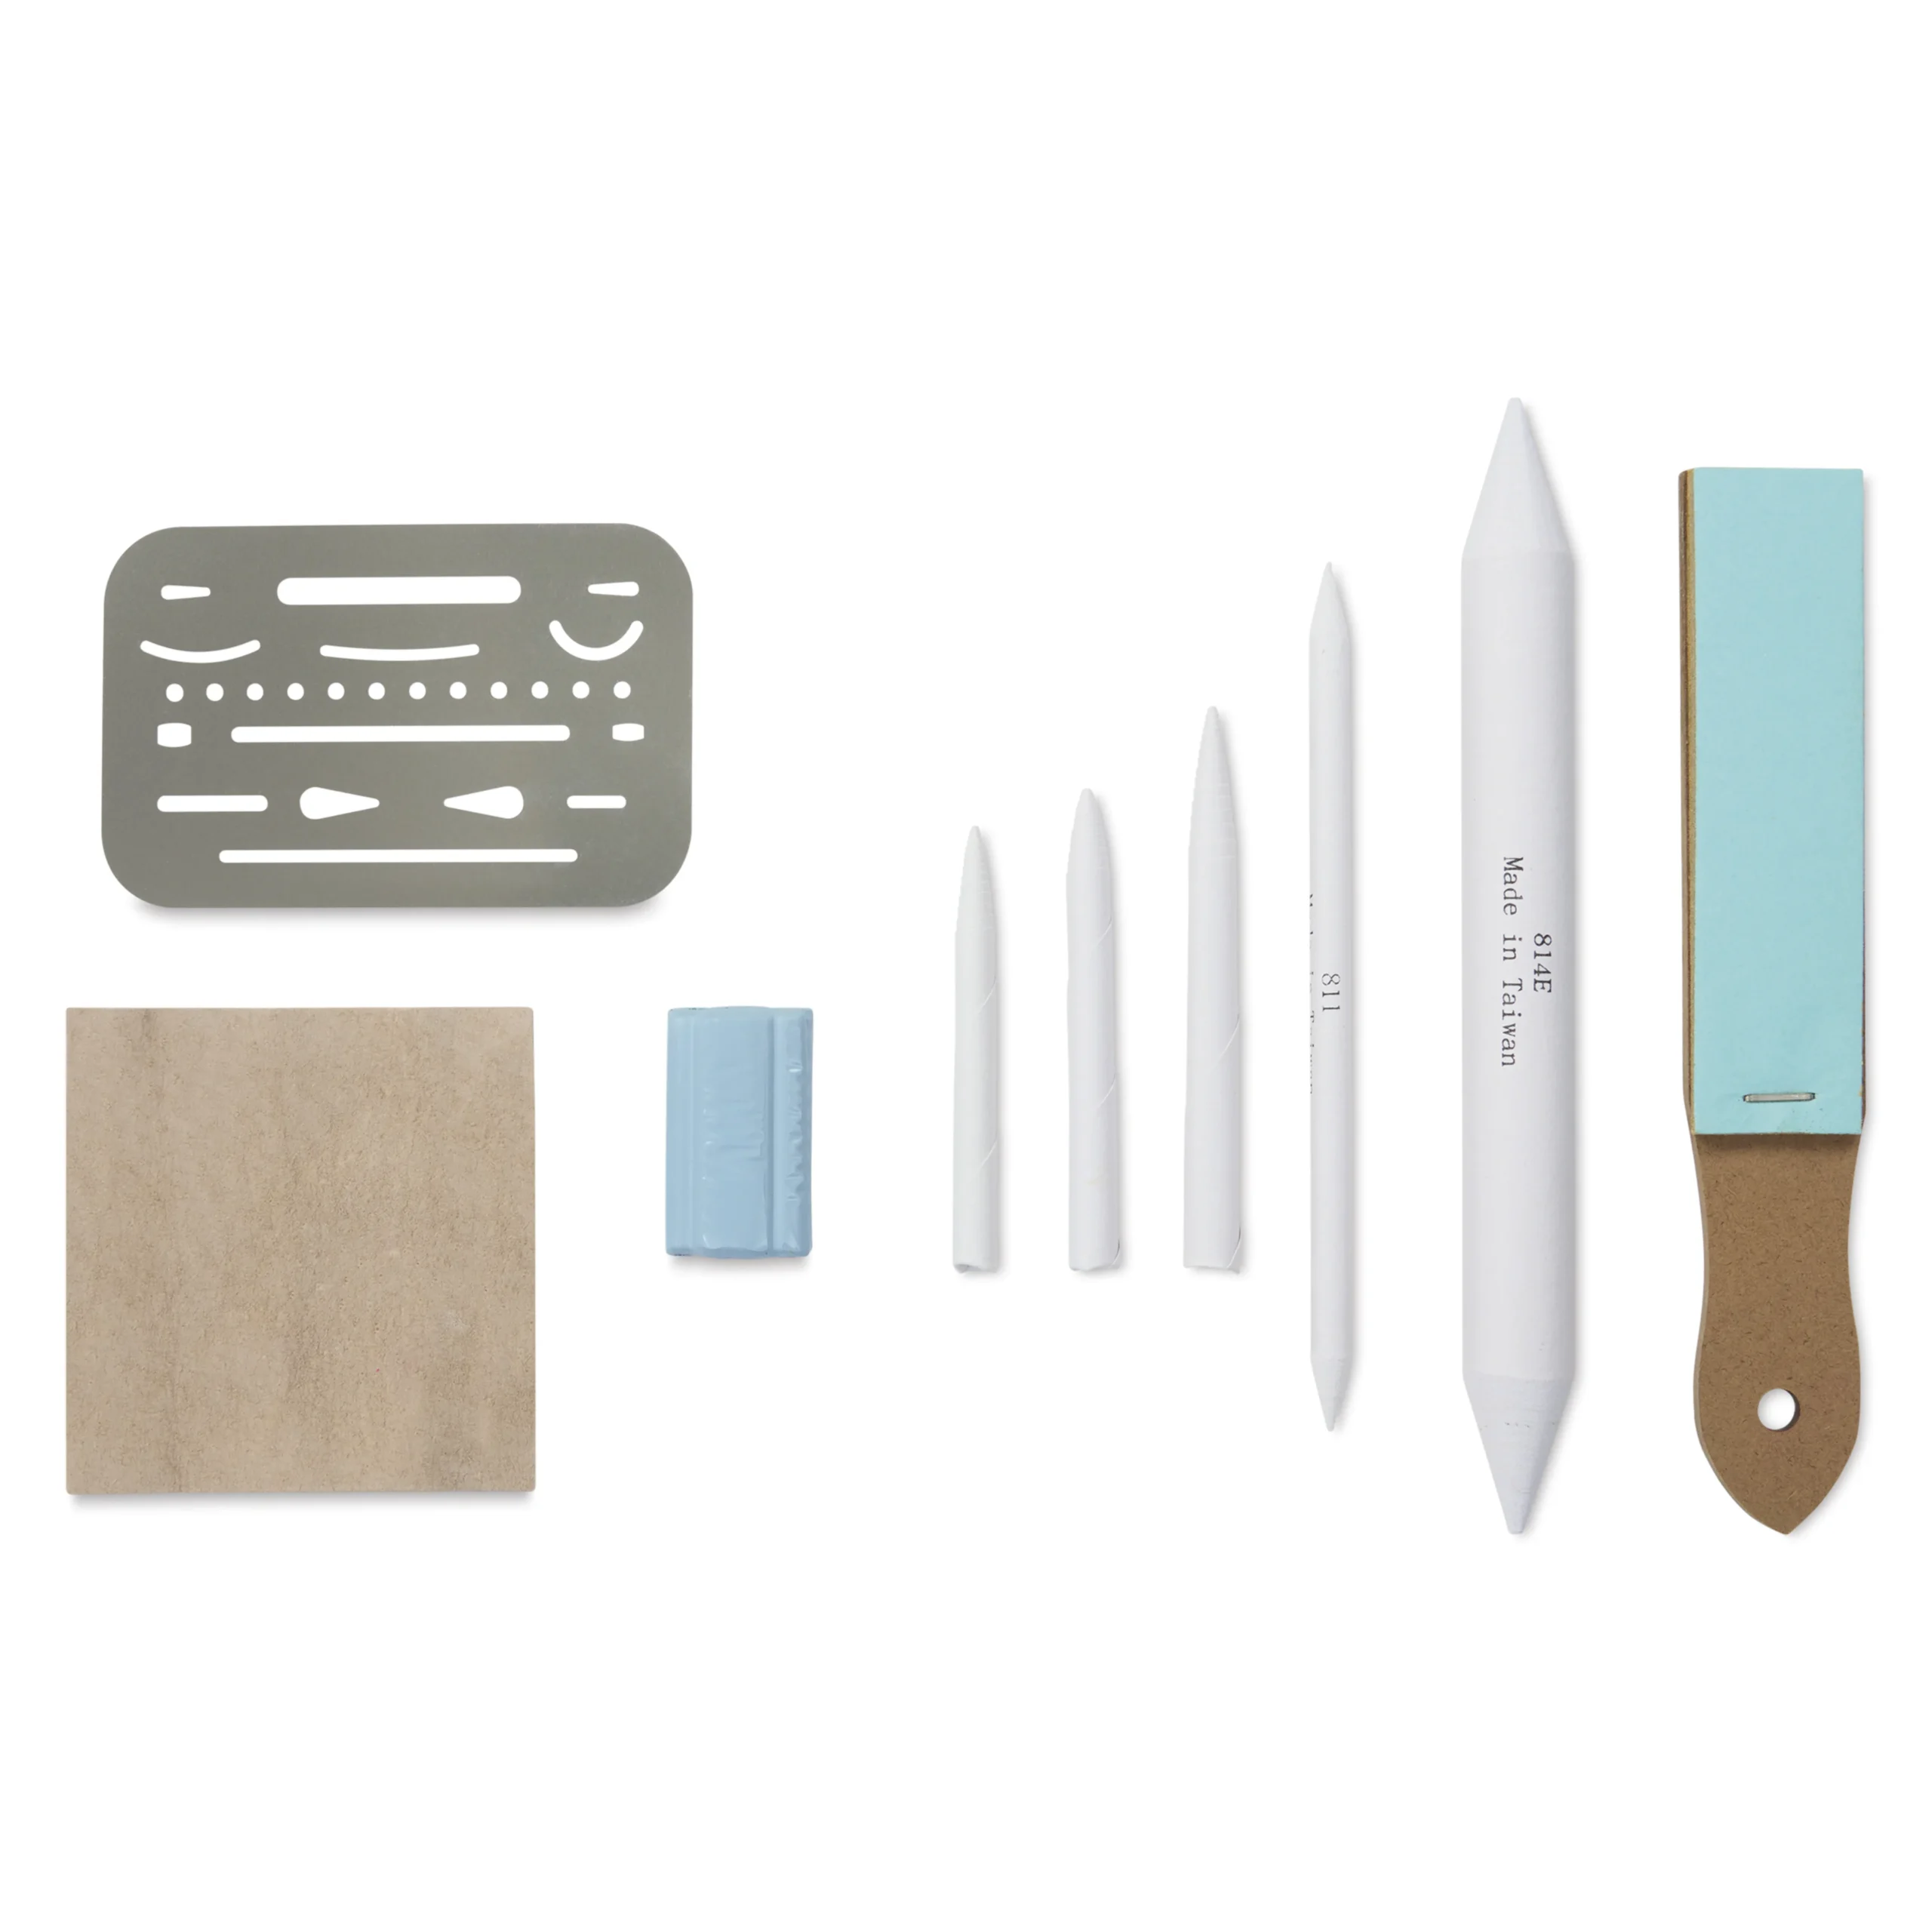
Pencil Accessories for Graphite: A Beginner’s Guide
There are dozens of pencil accessories out there, and most beginners don't need half of them. Here's an honest breakdown of what to buy immediately, what to wait on, and what to skip entirely.
 ByLeona

As a novice you would think there couldn’t possibly be that many pencil accessories for graphite. In reality there are actually loads of them with different styles and price points for each. Some are needed, some not, and several have budget alternatives. Be sure to read Graphite Pencils for Beginners: Pencils, Grades, and Paper so you can have the full picture of this first step on becoming an artist.
Here is a quick breakdown of the most common accessories and whether they are worth your money starting out:
At-a-Glance Buying Guide
| Accessory Name | Recommendation & Timing ODT | Notes / Alternatives ODT |
| Vinyl / Polymer Eraser | Must-have (Purchase immediately) | Best for removing dark graphite; safe for quality paper. |
| Pencil Sharpener | Must-have (Purchase immediately) | Pick a simple manual 2-hole sharpener; skip electric models. |
| Kneaded Eraser | Buy down the road | Essential once you start shading with darker “B” grade pencils. |
| Mechanical / Pen Erasers | Buy down the road (Optional splurge) | Great for fine details; can be mimicked by cutting a vinyl eraser. |
| Blending Stumps / Tortillons | Buy down the road (Likely soon) | High priority for smooth smudging without using fingers. |
| Pencil Extenders | Buy down the road | Helps use pencils down to the stub; not needed for mechanical pencils. |
| Dura-Lar Sheets | Buy down the road | Clear sheet to prevent hand smudges on larger drawings; start with printer paper. |
| Chamois Cloth | Buy down the road / Optional | Used for large background shading; felt scraps or cotton pads work just as well. |
| Drafting Brushes | Buy down the road / Optional | Cleans away eraser dust; a cheap dollar-store makeup brush works great. |
| Art Gum Eraser | Personal choice / Not needed early on | Leaves behind heavy dust; purchase only if your drawing style calls for it. |
| Electric Eraser | Personal choice / Not needed | High speed can burn through thin paper; mostly a convenience tool. |
| Eraser Shields | Do Not Buy / Skip | Can break erasers; slice a vinyl eraser into a sharp wedge instead. |
| Fixative Sprays | Buy down the road | Only needed for preserving finished, framed art—unnecessary for beginners. |
| Sandpaper Sharpening Blocks | Do Not Buy / Skip | Often included in sets, but standard sandpaper works the same. |
| Pencil Cases or Wraps | Personal choice | Store pencils in a household mug, zip-top bag, or directly on the desk. |
| Drawing Gloves | Personal choice | Can make hands sweat; printer paper or Dura-Lar is a better alternative. |
The Eraser Family
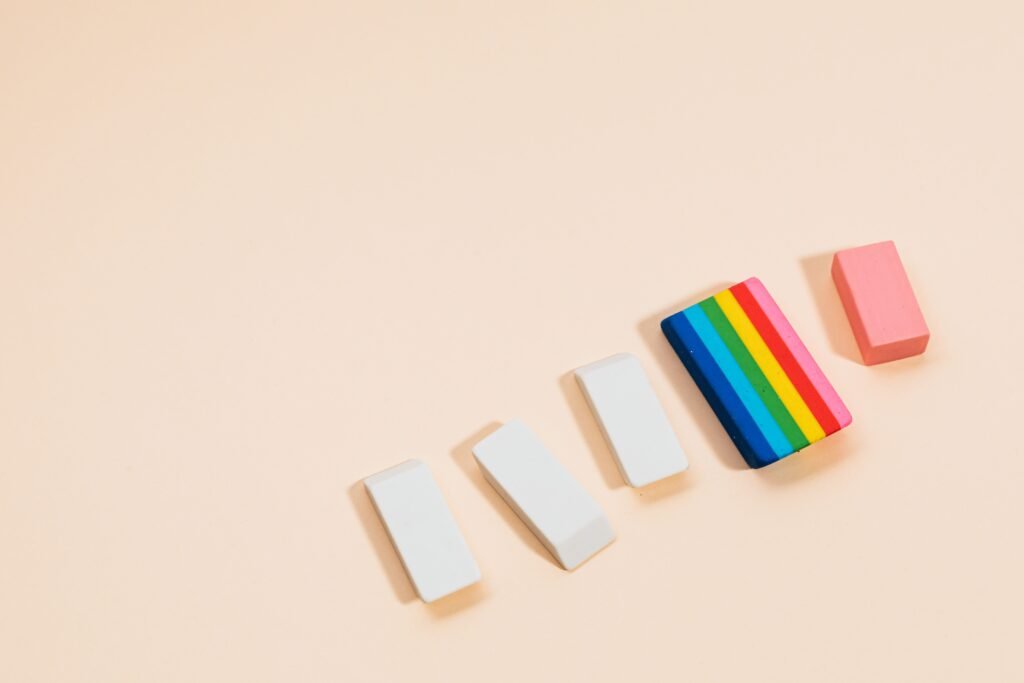
The sheer number of eraser types and brands is mind boggling. There are no less than five different types or styles to choose from. First and foremost, Do Not use the pink erasers, or their cute colorful cousins, to erase graphite pencils from your drawings. It will leave behind smudges and graphite residue.
How and When to Buy the Erasers
Of all the erasers in the above table the only one to purchase out of the gate is the hi-polymer eraser. This simple white eraser will be your best friend in the beginning as you are learning to draw. Please do make note of the friction/paper impact.
After you gain some experience and are starting to play around with shading and using the darker (higher number B graphite pencils) you will want to purchase a kneaded eraser. Often this looks like a grey block and feels stiff. To make it perfect to lift graphite off the paper, you literally knead it. The reason is to warm up the eraser and in doing so you can shape it any way you want to lift off graphite.
Precision Stick / Pen Eraser are pure convenience tools, I have several. Many find these easier to use because they are held in your hand like a pencil. Some like the really tiny ones are great for those super small area or to add that subtle highlight back to the drawing. These can be considered a splurge item, purchased down the road.
The remaining erasers in the table are ones that you do not need starting out. However as you get better and better at drawing you will naturally understand when to buy them. Some may or may not ever be needed depending on your drawing style. Listen to your own instincts, not some tutorial.
- The “One-Two Punch” for Dark Mistakes: If you try to rub a solid black graphite mistake with a hi-polymer eraser right away, you risk smearing the loose graphite and grinding it deeper into the paper. Instead, use a kneaded eraser first to press and lift away the loose top layers of graphite. Once the spot is lightened, come in with your hi-polymer eraser to clean up the rest.
- Custom Shapes on a Budget: You don’t need a factory-made precision stick eraser to get clean details. You can take a standard, affordable hi-polymer eraser and use a clean utility knife to slice a thin wedge or a sharp angle off the edge.
Pencil Accessories Breakdowns
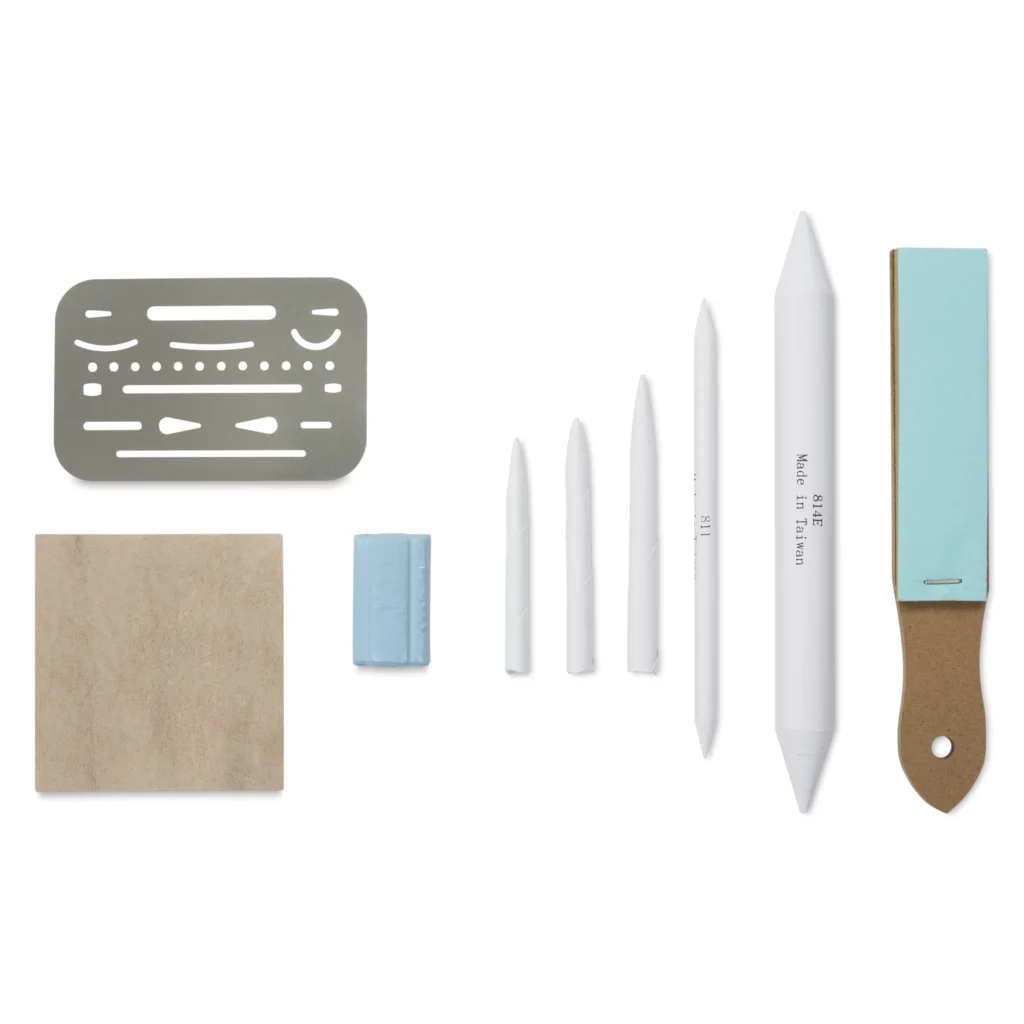
Now that we have erasers sorted out, there are quite a few other pencil accessories on the list to discuss. One of these is must have from the beginning, the rest are either down the road or ignore.
Eraser Shields
- What it is: A thin template, usually metal or plastic, with cutout shapes that protects the surrounding area while you erase small, precise details.
- Advice: One pencil accessory far too many tutorials and beginner supply lists tell you to buy. It was on my own list of “needed” beginner supplies too. I tried it a few times and found the eraser either couldn’t fit into those tiny openings or the eraser broke apart trying. Instead, use the utility knife trick discussed above. Personally, I say save your pennies.
Fixative Spray
- What it is: A spray used to permanently fix graphite to the paper, typically reserved for finished art pieces you plan to keep or display long term.
- Advice: This pencil accessory showed up on nearly every beginner art supply list, but it was never something I bought. Even starting out, I knew I wasn’t spraying anything to last, much less framing anything, this early in my journey. Do not waste money on this as a beginner. The chances you’ll need it this early are slim to none.
Blending Stumps / Tortillons
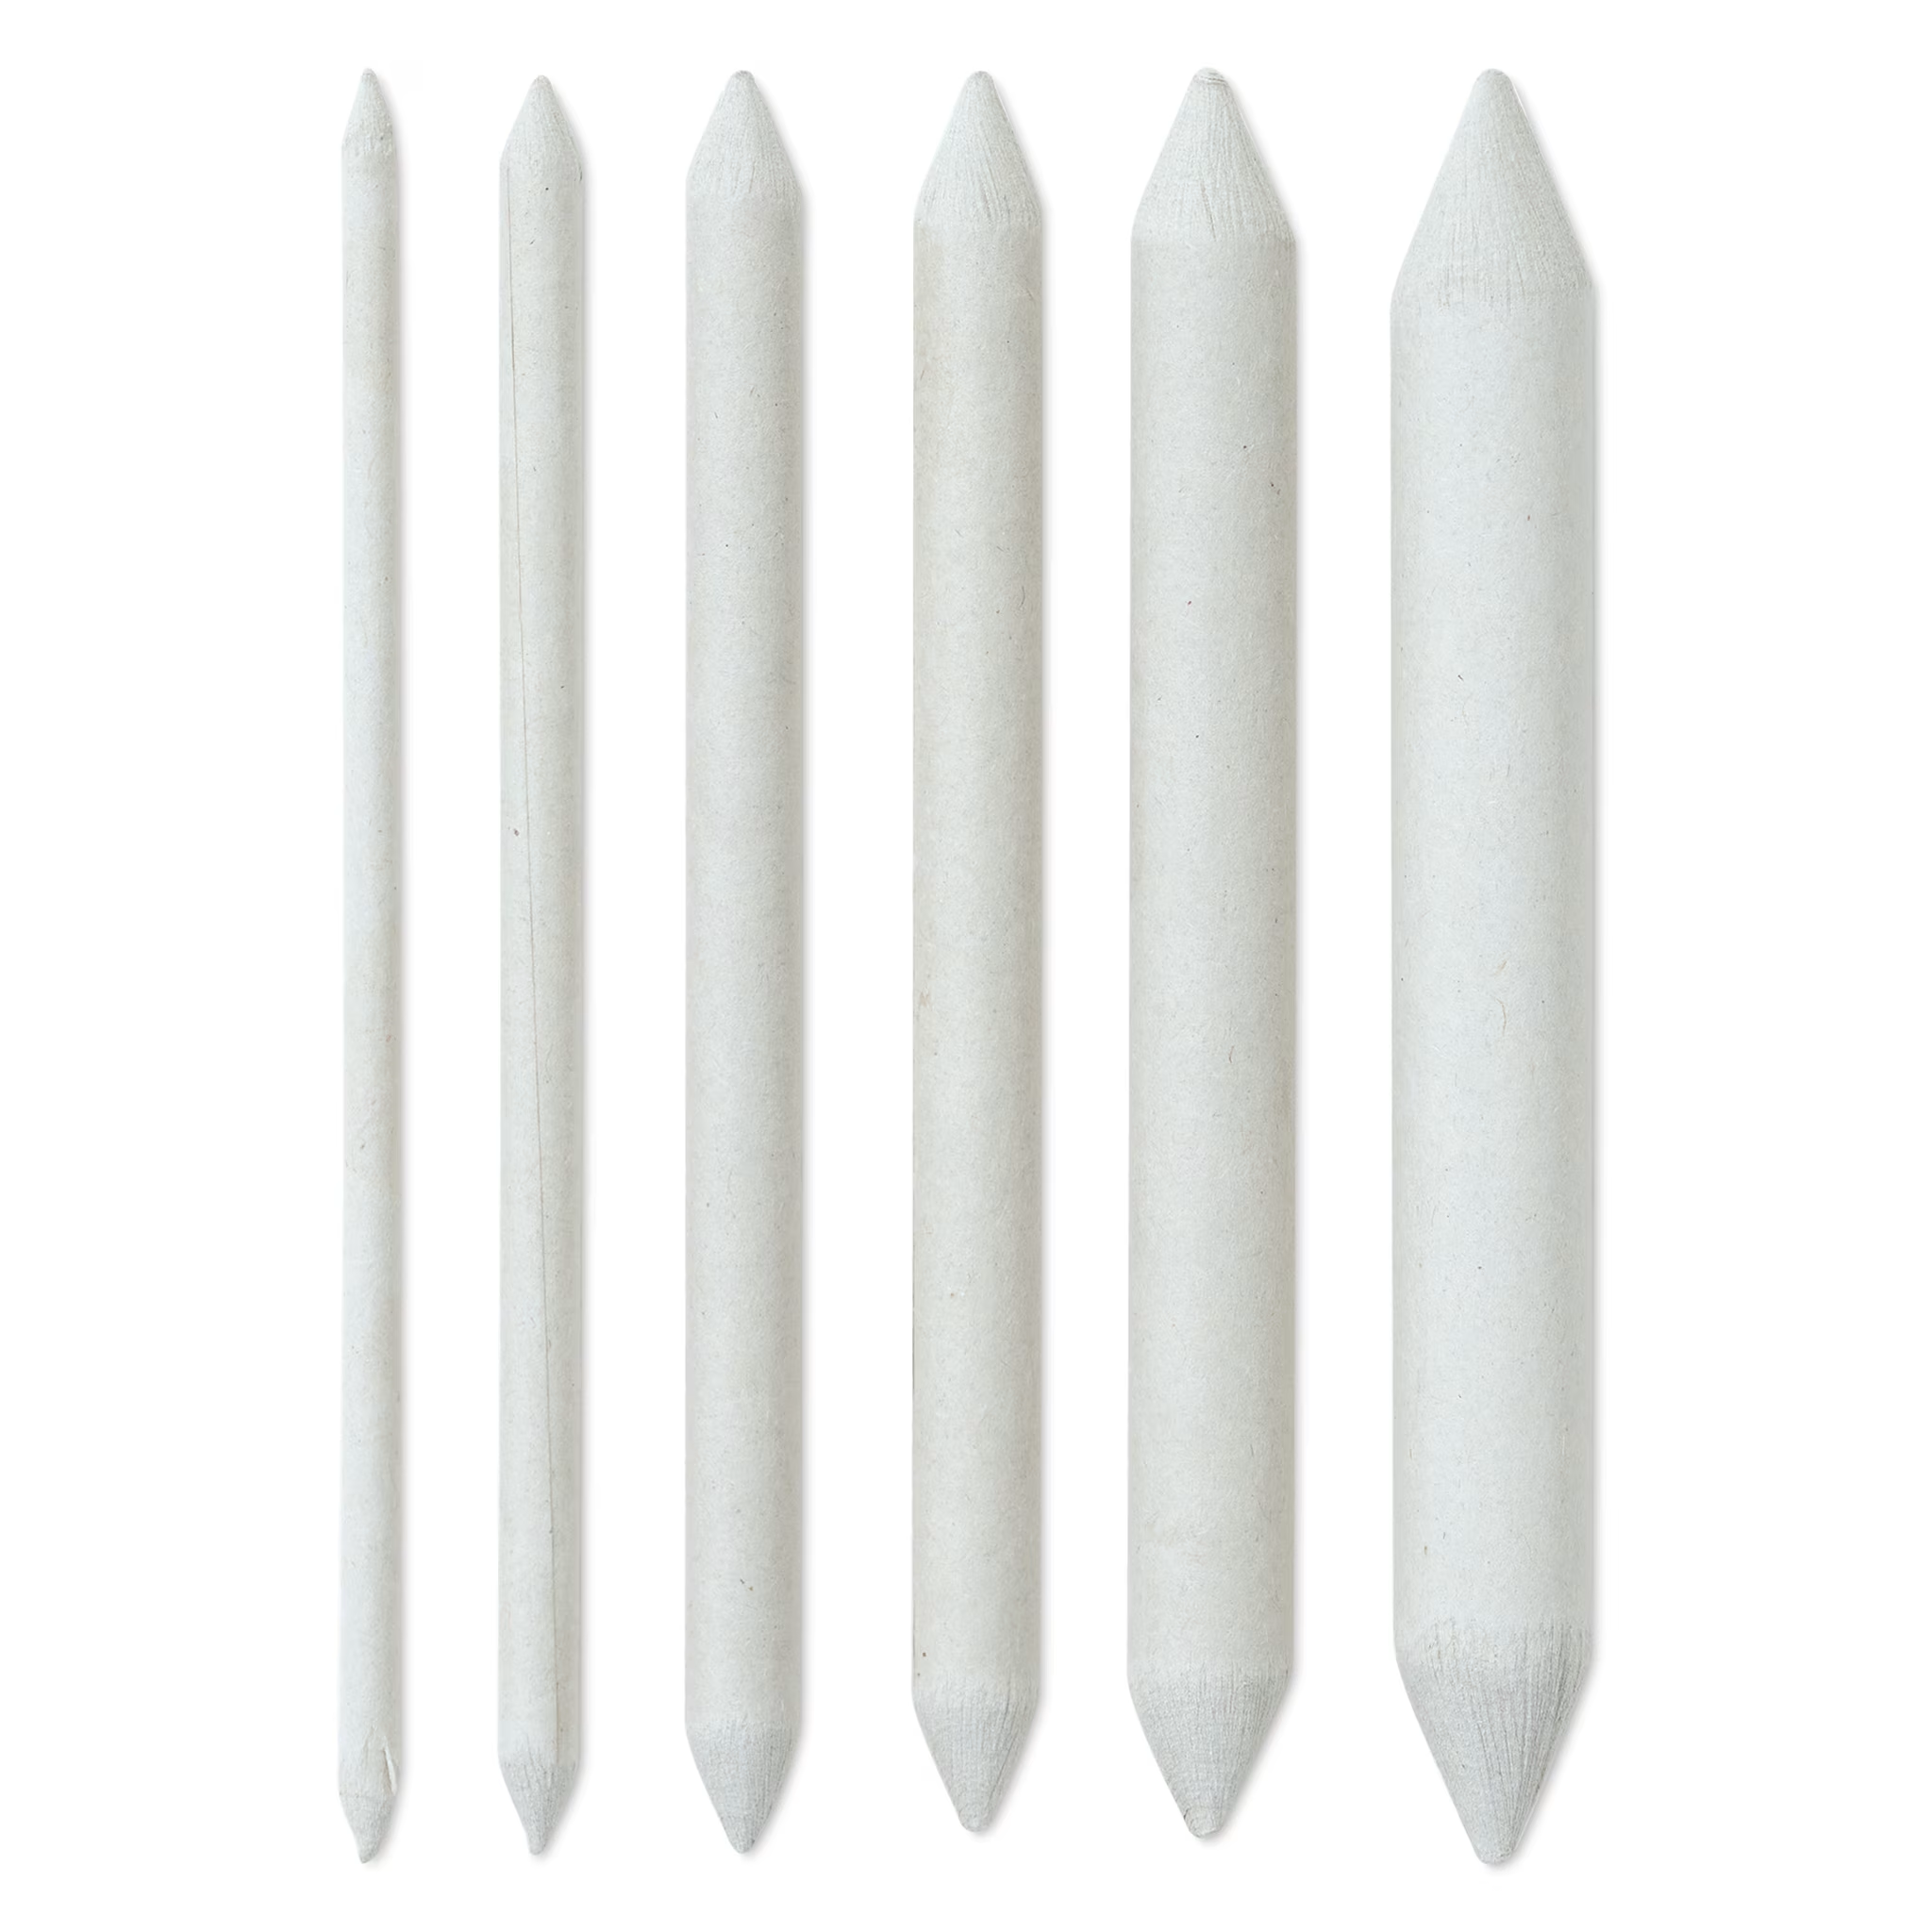
- What it is: Tightly rolled pieces of paper with a point, sold in many sizes and often in sets, used to blend and smudge graphite instead of using a finger.
- Advice: Personally, the most important pencil accessory in drawing, I discuss this further in Best Drawing Supplies for Beginners: Complete Guide Under $20. Most artists don’t mind smudging graphite with their fingers or a piece of tissue, but not everyone feels that way. These do the smudging for you. More than likely you won’t need these starting out, but may quickly want them. I sure did.
Sandpaper Sharpening Blocks
- What it is: A wooden paddle with several layers of sandpaper stapled to it, used to hone a needle-sharp point onto a pencil and clean graphite off blending stumps.
- Advice: Knowing how much I’d be using blending stumps, I purchased a full set that happened to include one of these. It’s not a needed purchase on its own, and a simple piece of fine sandpaper works just as well. Skip buying this separately when starting out.
Pencil Extenders
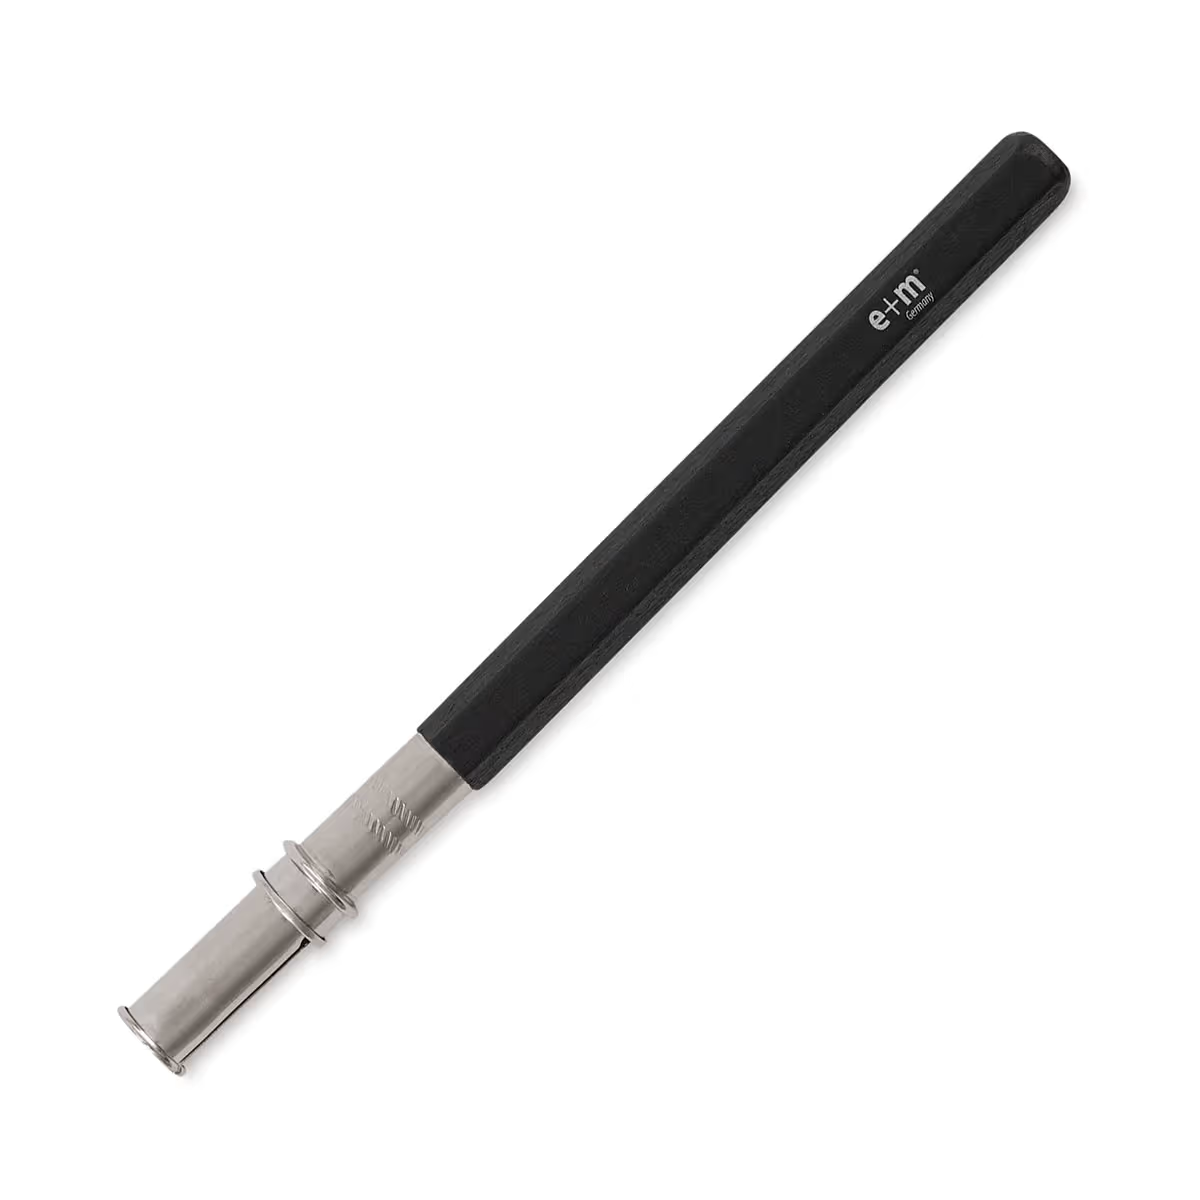
- What it is: A small metal or wooden sleeve with a collar that slips over the butt-end of a pencil once it becomes too short to hold comfortably.
- Advice: May seem superfluous, but having the ability to use a pencil down to the last half-inch without cramping your hand can save money in the long run. Not an immediate purchase, but one to consider down the road. Not needed at all if using mechanical pencils.
Pencil Sharpeners
- What it is: A tool for sharpening traditional pencils, ranging from inexpensive handheld versions to battery-powered electric models.
- Advice: If using a traditional pencil, this is a must-have from the beginning. Look for an inexpensive metal or plastic sharpener with two openings that allow for sharpening to different point styles, this gives flexibility and could help avoid having to use a utility knife.
- Special note about Electric sharpeners: While these are convenient, they tend to remove much more of the pencil than handheld versions, meaning pencils get used up faster and therefore, replaced faster. Definitely not needed, but a personal choice.
Chamois Cloth
- What it is: Traditionally a soft leather cloth, though synthetic versions exist too, used to blend graphite smoothly over large areas, like a sky, without the streaking that blending stumps tend to create.
- Advice: Never actually bought one. Cotton pads or scraps of felt I already had on hand did the exact same job. A cheaper alternative like this works just as well at a fraction of the price. Worth exploring once larger drawings are underway. In the beginning, most likely won’t be needed at all.
Drafting Brushes
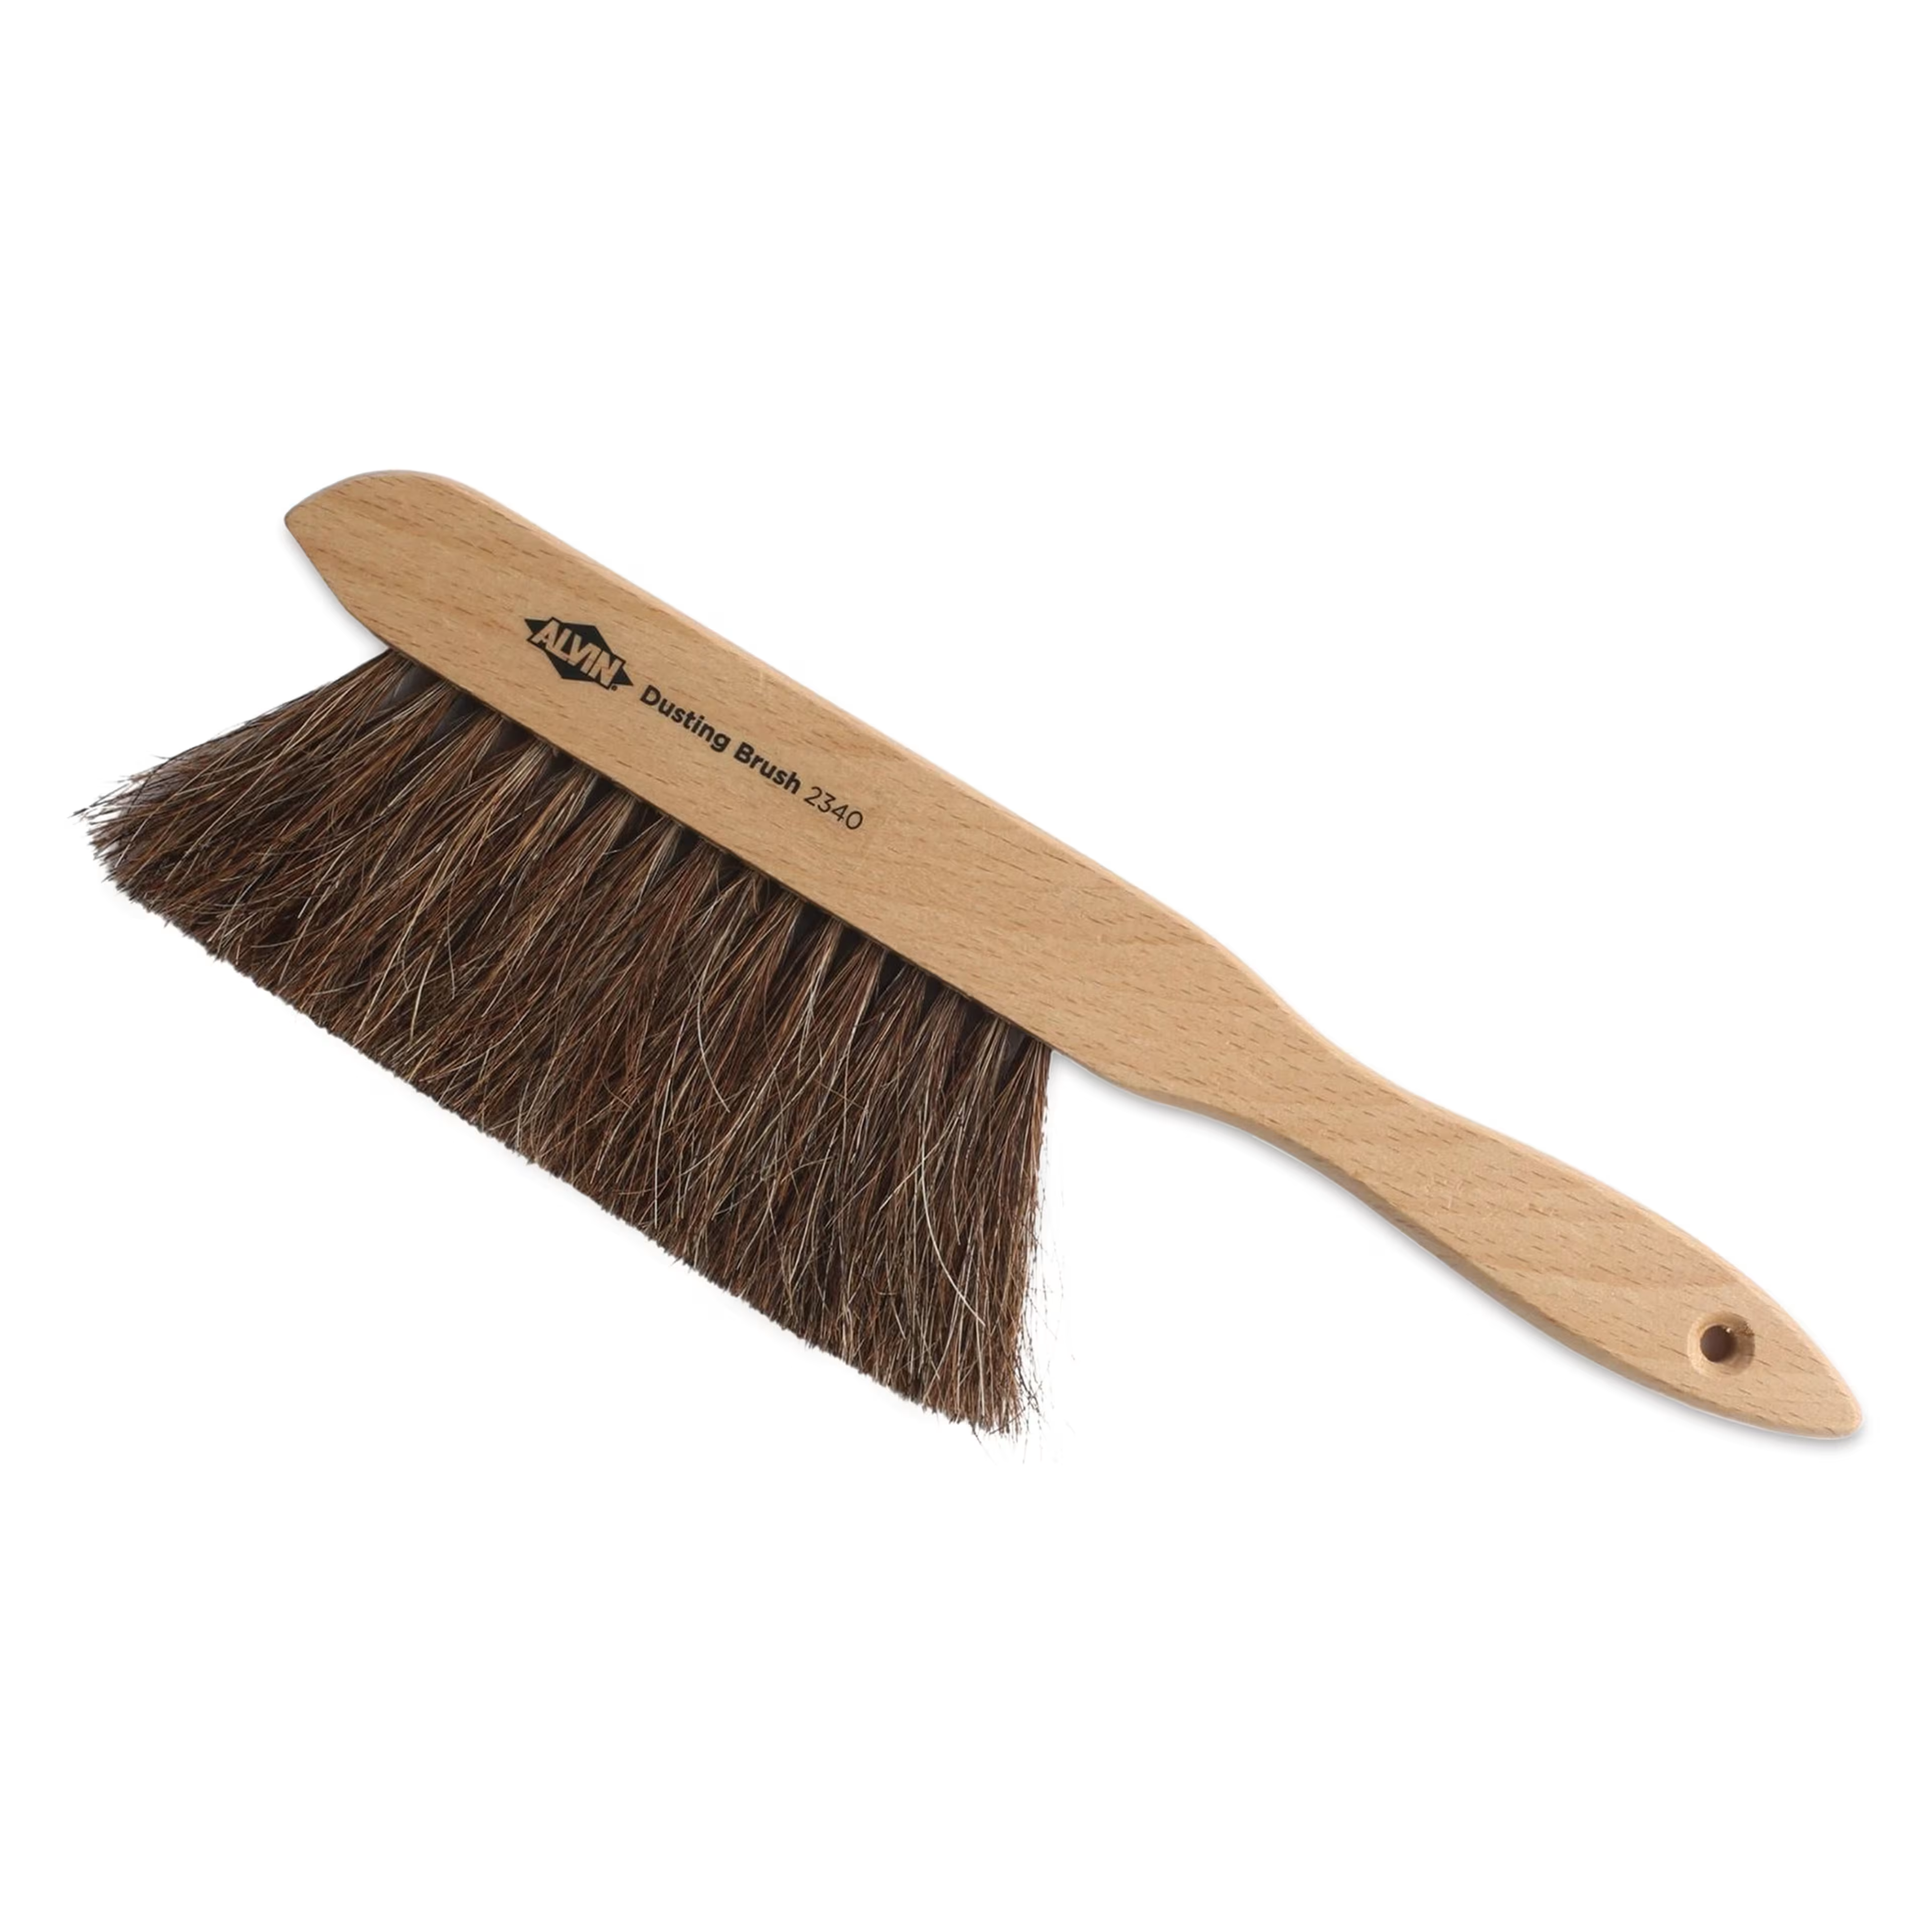
- What it is: A brush used to remove eraser debris from the paper, since blowing on it or swiping with a hand can leave behind spittle or oil.
- Advice: Horsehair drafting brushes can get quite expensive, while an inexpensive dollar store large makeup brush does just as well. Fine to pick up a cheaper version early in the journey, but not strictly needed in very beginning.
Pencil Cases or Wraps
- What it is: Storage options for pencils and drawing tools, ranging from simple fabric wraps and zip pouches to structured cases with individual pencil slots, some surprisingly expensive.
- Advice: In the beginning, my pencils and erasers just lived on my drawing desk. Later I switched to a desktop organizer, since I wanted to actually see my pencils, not have them tucked away inside a case or wrap. No need to spend money on these starting out. Something already around the house, even a mug or a zip-top bag, will work just fine. You can always do like I did and leave them on your desk.
Dura-Lar Sheets
- What it is: Archival-quality clear film sheets, heat resistant and dimensionally stable, originally designed for layouts, color separations, protective covering, and overhead transparencies. In graphite drawing, a sheet is placed under your hand to prevent smudging the graphite and transferring skin oils onto the paper.
- Advice: In the beginning, printer paper did the job just fine. As my drawings grew larger, I wanted to be able to see what was underneath the paper, which is when I bought Dura-Lar. Being archival quality meant that once I upgraded my drawing surface, I wouldn’t negate its archival qualities by using something that wasn’t. With 25 sheets in a pad, it’s a buy-once purchase that lasts a lifetime. You could also use just about anything that has at least some thickness to it that is clear.
Drawing Gloves
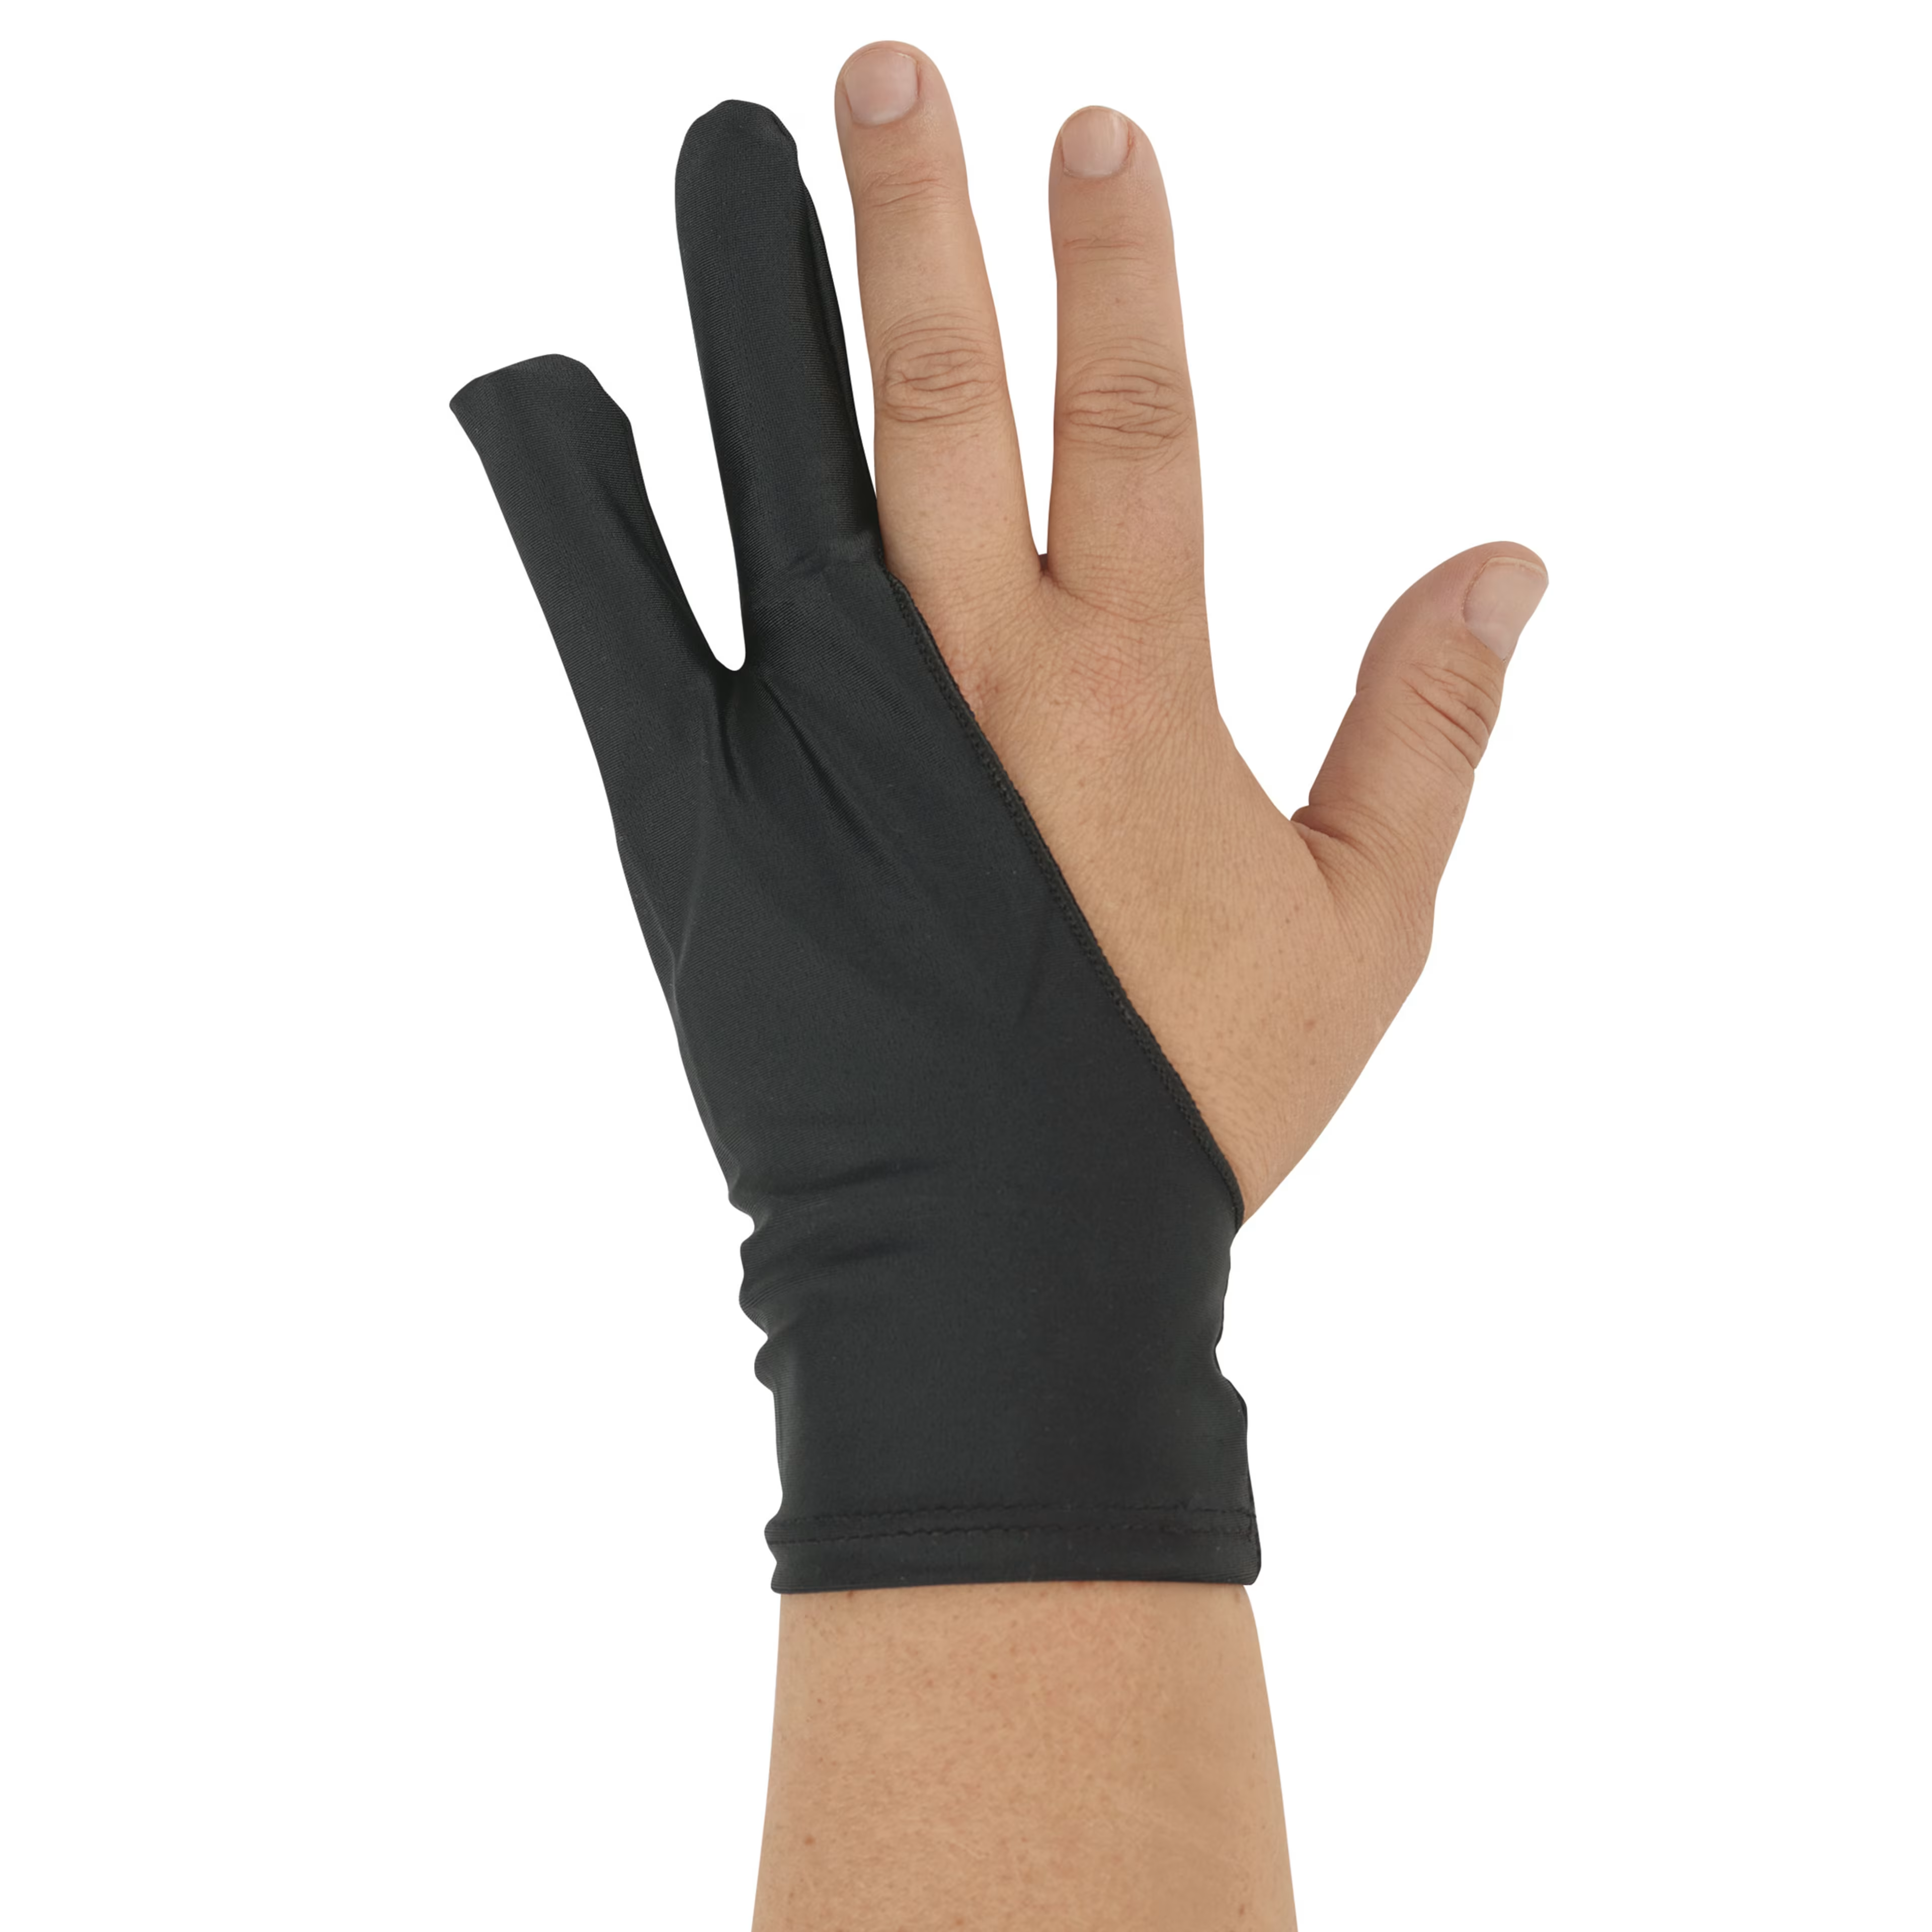
- What it is: A partial glove covering only the two bottom fingers, designed to prevent your hand’s natural oils and sweat from smudging traditional media.
- Advice: Never liked the feel of these on my hand. More often than not, it just made my hand sweat, which somewhat defeats the purpose. Printer paper or a Dura-Lar sheet does the same job without any of that.
I started with a daunting list of 11 pencil accessories and if you add each type of eraser, that number jumps to 15. This is why pencil accessories for graphite is its own post. It is stunning just how much is out there. Some of the things are ideal to have in your drawing arsenal, others are not worth it or there is a much more affordable way to get the same results.
This information on pencil accessories for graphite combined with the previous post Graphite Pencils for Beginners: Pencils, Grades, and Paper should enable you to begin your own drawing journey, regardless of age. Keep in mind I started mine at 55.
Please take all this information and allow it to help you only get what you need, when you need it. Learning the skill of drawing should not break the bank. My hope is that the entire series Art Supplies for Beginners will help you begin an art journey of your own that will bring joy to you for years, decades even, to come. Happy Drawing!
