Introducing 22oz Copper Insulated Water Bottles! Cold for 48 hours & Hot for 12. In the SHOP Now
What Bob Ross Didn’t Say: Learn to Draw Before You Paint
Bob Ross made painting look effortless. What he never said was that you need to learn to draw before you paint. I spent years and a lot of money finding that out the hard way.
 ByLeona
How I wasted $1,000 on supplies before realizing I skipped the most important step
If I’m being honest, the advice to learn to draw before you paint exists for a reason. I ignored it completely.
I grew up watching The Joy of Painting. I was mesmerized by the “happy little trees” and the magic of wet-on-wet oil painting. But mostly, I loved his philosophy that there are “no mistakes, just happy accidents.” To a child who had been told she had “no talent,” that was the most beautiful thing I had ever heard.
But I knew my reality: I couldn’t use oils. The fumes were a no-go for me due to my asthma, and the cost of canvases and oil paints were terrifying for a beginner.
So I went to Michael’s with a plan. I would learn to paint.
What followed was an expensive lesson in doing things backwards.
I Wanted to Be Bob Ross (But didn’t think learn to draw before you paint applied)
Bob Ross made painting look effortless. Load the brush, make a few confident strokes, and suddenly there’s a mountain. A tree. A “happy little cloud.”
What I didn’t understand: Bob Ross knew HOW TO DRAW.
He understood:
- Form and structure
- Light and shadow
- Depth and perspective
- Proportion and placement
I had none of that knowledge. But I thought I could skip straight to the “fun part”, color and paint.
I was so wrong.
The Acrylic Nightmare
First off, I would love to show you examples of this nightmare, but every single painting I did with acrylic paint was gloriously ripped to shreds by myself. Now to the narrative.
I bought a set of store-brand craft paints (Strike #1) and a brush set that I picked solely because it “looked pretty” (Strike #2). I went home, ready to create masterpieces. (Strike #3). If this was baseball it was 3 strikes and your out before I even started.
Over the next several months, I tried everything. Modern pieces. Landscapes. Abstracts.
The result? Horrible. Just horrible.
Nothing had depth. Nothing had structure. My paintings looked flat and amateurish, like a child’s finger painting. Wait a minute, that is doing a disservice to the beautiful work children create. I think back on those paintings and realize they may have been better if I just dumped the paint on the canvas.
I figured it was the tools. So I went to Blick Art Materials for the first time and asked an associate for advice. He pointed me toward Heavy Body Acrylics, professional-grade paints. I felt official. I went home to try again.
It was still a nightmare. My paintings looked like a race against the clock that I was losing. The paint dried too fast. My brush strokes were clumsy. I couldn’t create the smooth blends or realistic shadows I saw in tutorials.
The expensive acrylics were better quality, sure. But they couldn’t fix what I didn’t know. And yes I did buy paint extenders or anything else I found that I thought would solve the “it dries to fast” problem.
The Watercolor Money Pit: When Better Gear Can’t Fix the Problem
I decided acrylics were the enemy, so I turned to YouTube and discovered watercolor. It looked softer, easier (ha!), and more forgiving.
Attempt #1: Student Grade
I started responsibly with a student-grade watercolor set, before you ask yes it was Cotman. I sat down to paint. And this time… I actually had some success. It wasn’t a disaster, but it looked “juvenile.” It looked like a child’s interpretation of a landscape.
Colors bled where they shouldn’t. Shapes were flat. There was no sense of light or form. Some of my attempts at mixing colors, let’s just say I discovered what the YouTube tutorials meant by mud.
Attempt #2: The Expensive “Solution”
Then, I made the classic mistake. I blamed the tools.
I told myself, “Well, of course it looks amateurish. I’m using amateur paint. If I had the professional stuff, the stuff the YouTubers use, my paintings would look like theirs.”
So I opened my wallet. Again.
I didn’t just upgrade; I went overboard.
I bought:
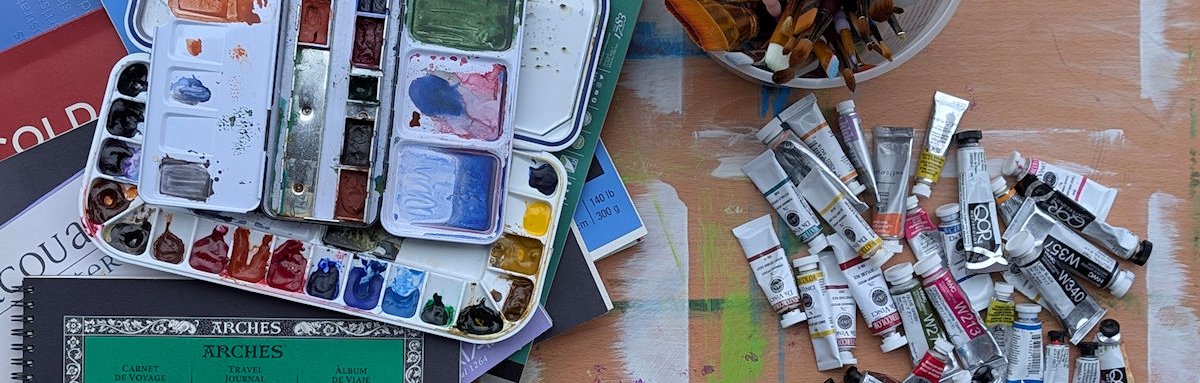
- Winsor & Newton Professional tubes ($15-25 per tube)
- QoR watercolors (known for their vibrant flow)
- Da Vinci paints (hand-poured luxury)
- Porcelain palettes ($30-50 each)
- Sable-hair brushes ($40-100 each)
- Stacks of 100% cotton Arches paper ($20+ per pad)
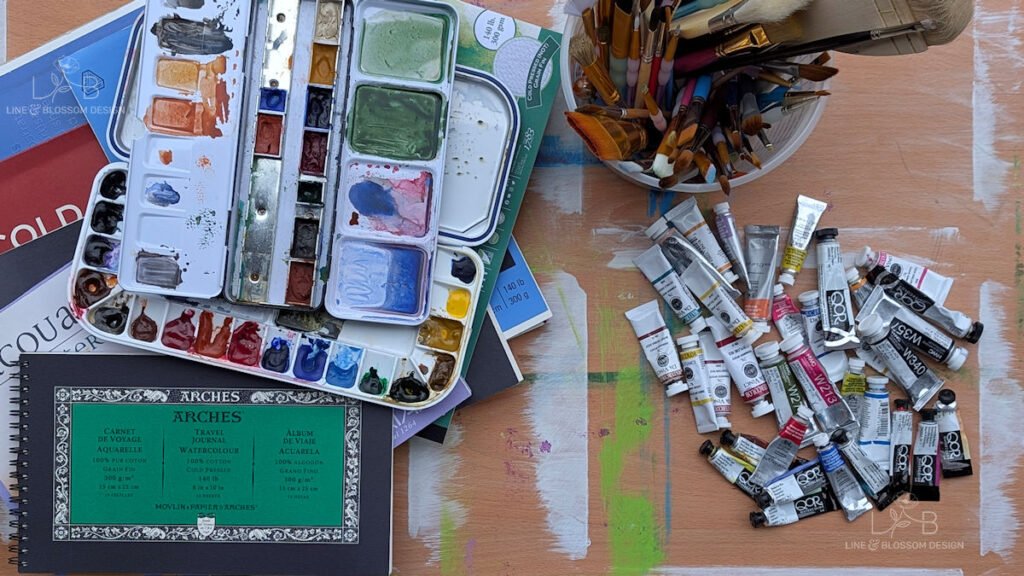
I have drawers full of premium supplies that professional watercolor artists would drool over.
The Expensive Result
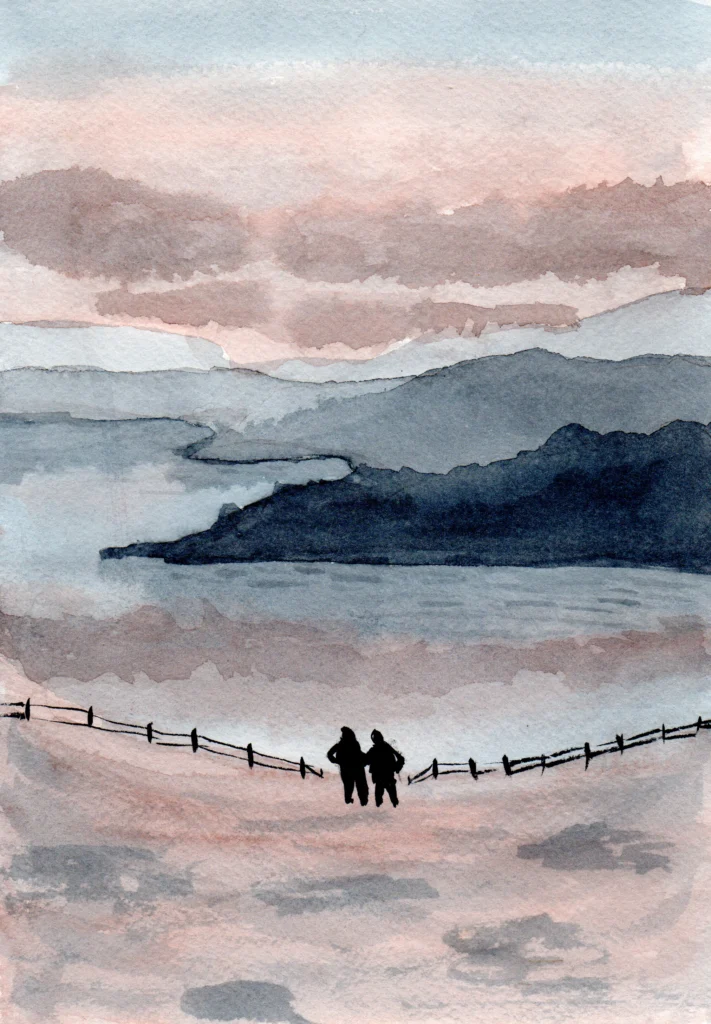
My paintings were certainly more expensive. The colors were more vibrant. The paper held the water beautifully. The brushes were a dream to use.
But the paintings were still flat. Still lacked depth. Still looked amateurish.
No amount of money I threw at the paper could buy the result I wanted.
Because the problem wasn’t in the tube. The problem was in me.
The Hard Truth I Had to Accept
I finally had to admit what every watercolor tutorial was trying to tell me (and I was ignoring):
“To effectively paint anything, still life, landscapes, or flowers, you must first learn to draw before you paint.”
I kept reading this advice. And I kept dismissing it.
“I don’t want to draw,” I thought. “I want to PAINT. Drawing is boring. Painting is colorful and fun!”
But here’s what I didn’t understand:
Why Drawing Comes First: The Foundation Principle
Painting is decoration. Drawing is structure.
Think of it like building a house:
- Drawing = The frame, foundation, walls
- Painting = The paint color, wallpaper, the furniture and décor
If you don’t know how to build the frame (drawing), the decorations and furnishings (paint) will fall down or get ruined.
What drawing teaches you:
- Form and volume – How to make flat surfaces look 3D
- Light and shadow – Where shadows fall and why
- Proportion – How big things are relative to each other
- Perspective – How to create depth
- Structure – How complex objects break down into simple shapes
What painting requires:
- All of the above PLUS
- color theory,
- medium control
- technique
You can’t skip the foundation.
My watercolor paintings looked flat because I didn’t know how to create the illusion of depth. I didn’t understand form, shadow, or structure. No amount of expensive paint could fix that gap in knowledge. Again learn to draw before you paint!
The Turning Point: Putting Down the Brushes
I started researching why my paintings looked so flat and amateurish, regardless of the medium. Everywhere I looked, I kept hitting the same wall of advice:
Learn to draw before you paint.
That was the “Real Reason” I learned to draw. It wasn’t because I loved graphite. It wasn’t because I wanted to be a pencil artist.
It was because I realized that color and paint are just the decorations on the house. If you don’t know how to build the frame (drawing), the decorations will fall down.
I put down the brushes, picked up a pencil, and started learning the structure.
Read: How I Learned to Draw at 55
What Changed When I Learned to Draw
After working through You Can Draw in 30 Days by Mark Kistler, I understood:
One of the key things you learn in Mark Kistler’s book is The Nine Fundamental Laws of Drawing: These laws teach you to create the “illusion of depth” on a flat surface.
Suddenly, I could:
- Make a circle look like a sphere
- Create realistic shadows that grounded objects
- Build complex forms from simple shapes
- Understand where light hits and why
- See proportions and relationships
These skills translate directly to painting. Once you understand form, light, and structure in drawing, you can apply color on top of that knowledge.
But without the drawing foundation? You’re just pushing colored water around the page and hoping for the best. Again learn to draw before you paint!
Drawing vs. Painting: Which Should You Learn First?
If you’re a beginner wondering whether to start with drawing or painting, here’s my honest recommendation:
Learn to Draw Before You Paint If:
- You’re a complete beginner with no art background
- You want to understand fundamentals (form, light, shadow)
- You’re on a budget (drawing supplies: $5-20; painting: $50-500+)
- You want faster skill development
- You’re interested in realistic or representational art
- You’re a logical thinker who likes clear rules
You Can Start with Painting If:
- You’re okay with a longer, more frustrating learning curve
- You’re willing to invest in supplies before seeing results
- You’re drawn to abstract or impressionistic styles
- You’re more interested in color and mood than structure
- You have patience for a medium with less immediate feedback
My recommendation: if painting is your goal, learn to draw before you paint first. Even 30-90 days of drawing basics will save you time, money, and frustration. Basic drawing skills are your most valuable asset for any subject, in any style.
What I Wish I’d Done Instead
Looking back at my painting journey, here’s what I wish I’d known:
| The Smart Path (Recommended) | The Expensive Path (What I Did) |
| Learn to draw (30-90 days). | Buy expensive painting gear first. |
| Use cheap supplies ($5-20). | Spend $1000+ on premium tools. |
| Focus on structure/form. | Focus on color/decoration. |
| Result: Strong foundation. | Result: Expensive frustration. |
| Cost: Under $50 | Cost: Over $1,000 |
Time wasted: 1-2 years of frustration. Money wasted: Over $1,000 in supplies I didn’t know how to use.
Don’t be like me. Learn to draw before you paint.
The Unexpected Benefit: I Found My Medium
Here’s the plot twist: Once I learned to draw, I discovered I didn’t actually want to paint anymore.
Drawing, especially line art, became my passion.
Why? Several reasons:
- Clean and precise (no messy paint on my hands)
- Portable (just a pen and paper)
- Immediate feedback (see results instantly)
- Structured approach (appeals to my logical brain)
- Affordable (no expensive supplies to maintain)
I eventually discovered I have a condition called aphantasia (inability to visualize mental images), which explained why painting “from imagination” was so difficult for me. Line art, which is built sequentially rather than visualized, works perfectly for my brain.
That realization didn’t just give me a hobby; it gave me a direction. It’s the reason my online store is named Line & Blossom Design. My botanical line art—created with those basic drawing skills, is now my business.
The Bottom Line: Structure Before Decoration
You can buy a $1,000 easel or a $30 set of premium paints, but they won’t paint for you.
Painting requires the same foundational knowledge as drawing:
- Understanding form and volume
- Recognizing light and shadow
- Creating depth and perspective
- Seeing proportions and relationships
The difference: Painting adds color theory, medium control, and technique on TOP of those fundamentals.
If you don’t have the fundamentals, you’re building on sand. As I have said several times now learn to draw before you paint.
Should You Learn to Draw Before You Paint? (FAQ)
Can’t I just learn both at the same time?
You can try, but you’ll progress slower in both. Drawing has a gentler learning curve and provides faster feedback. Master one skill at a time.
How long should one focus on learn to draw before you paint?
Minimum 30 days (following a structured program like You Can Draw in 30 Days). Ideal: 90 days of consistent practice.
What if I REALLY want to paint right now?
Then paint! But manage your expectations. Be prepared for frustration. And consider adding drawing practice alongside painting to accelerate your progress.
Will drawing skills actually transfer to painting?
Absolutely. Form, light, shadow, and composition are universal across all visual art mediums. Once you understand these fundamentals in drawing, painting becomes much easier. There is a reason you see “learn to draw before you paint” everywhere, not just here.
I’ve been painting for years without drawing—is it too late to learn?
Never. Many painters return to drawing to strengthen their weak areas. It’s humbling but incredibly valuable.
Your Next Steps: The Smart Path to Painting
If you’re where I was, wanting to paint but lacking the fundamentals, here’s your action plan:
Month 1: Learn Drawing Basics
- Get You Can Draw in 30 Days by Mark Kistler
- Invest in basic drawing supplies (under $20)
- Practice 20-30 minutes daily
- Focus on the Nine Fundamental Laws
Month 2-3: Apply Your Skills
- Draw various subjects (objects, landscapes, plants)
- Find your style through subtraction
- Build confidence and consistency
- Master shading and form
Month 4: Start Painting (The Right Way)
- Begin with budget-friendly supplies:
- Student-grade watercolors or acrylics ($15-30)
- Basic brushes ($10-20)
- Practice paper ($10)
- Apply your drawing knowledge to paint
- Focus on color mixing and medium control
- Upgrade supplies ONLY after you understand the basics
Total investment: $50-80 vs. my $1,000+ mistake
Timeline: 3-4 months to solid painting foundation vs. my close to 2 years of frustration
From Painting Failure to Drawing Success
Those expensive watercolor supplies are still in my drawer. I use them occasionally, but they’re not my medium.
Drawing, specifically botanical line art, is my passion. And it all started because I was willing to admit I was doing things backwards. The advice I thought I could just ignore “learn to draw before you paint” bit me in the backside, that pain helped me discover what I love.
If you’re struggling with painting, ask yourself:
- Do I understand form and volume?
- Can I create realistic shadows?
- Do I see proportions accurately?
- Can I draw what I’m trying to paint?
If the answer is no, you’re not failing at painting. You’re just missing the foundation.
Put down the brushes (temporarily). Pick up a pencil. Learn the structure. Learn to draw before you paint.
Then, if you still want to paint, you’ll have the knowledge to make those expensive supplies actually work.
Or, like me, you might discover that drawing is your true calling.
Start your drawing journey: How I Learned to Draw at 55
What is your lesson learned the hard way?
Comment below with what you learned the hard way, like I did with drawing. I would love to hear your story!
Previously: How to Find Your Art Style: The Subtraction Method for Beginners
Read Next: Drawing with Aphantasia: How I Create Art Without Mental Images
